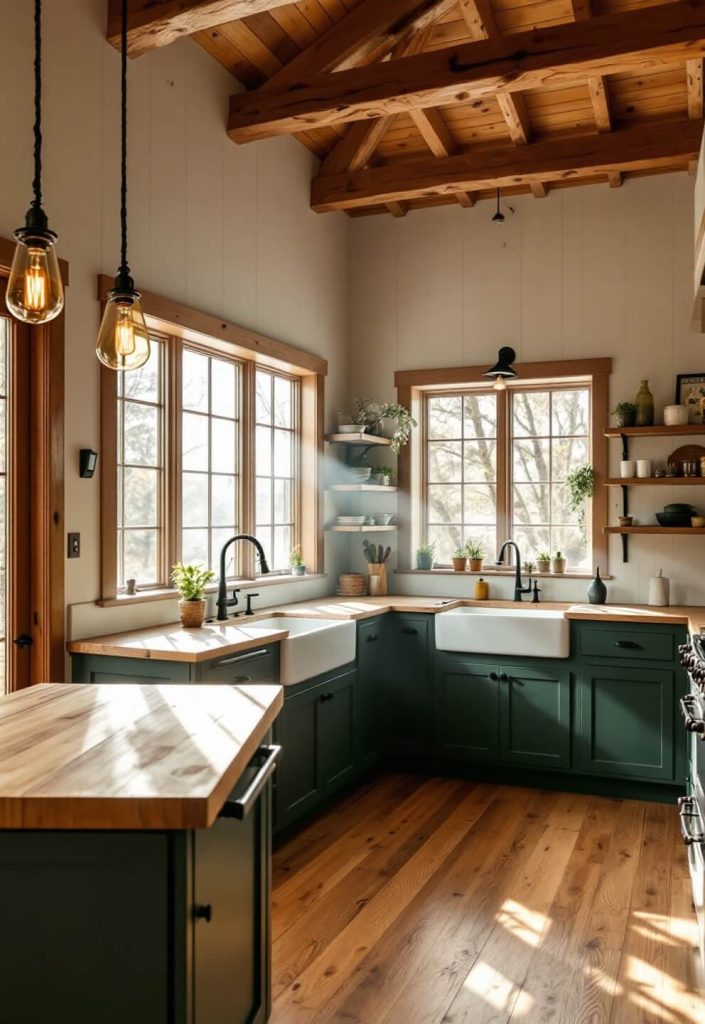
Stained cabinets show the wood rather than hide it, which is why they age better than paint. I pick a stain that matches the room’s light so the grain stays the focus.
Stained kitchen cabinets aren’t just a design choice – they’re a statement.
Key Benefits:
- Showcase natural wood grain
- Provide long-lasting durability
- Work across multiple design styles
- Add warmth to kitchen spaces
- Increase home value

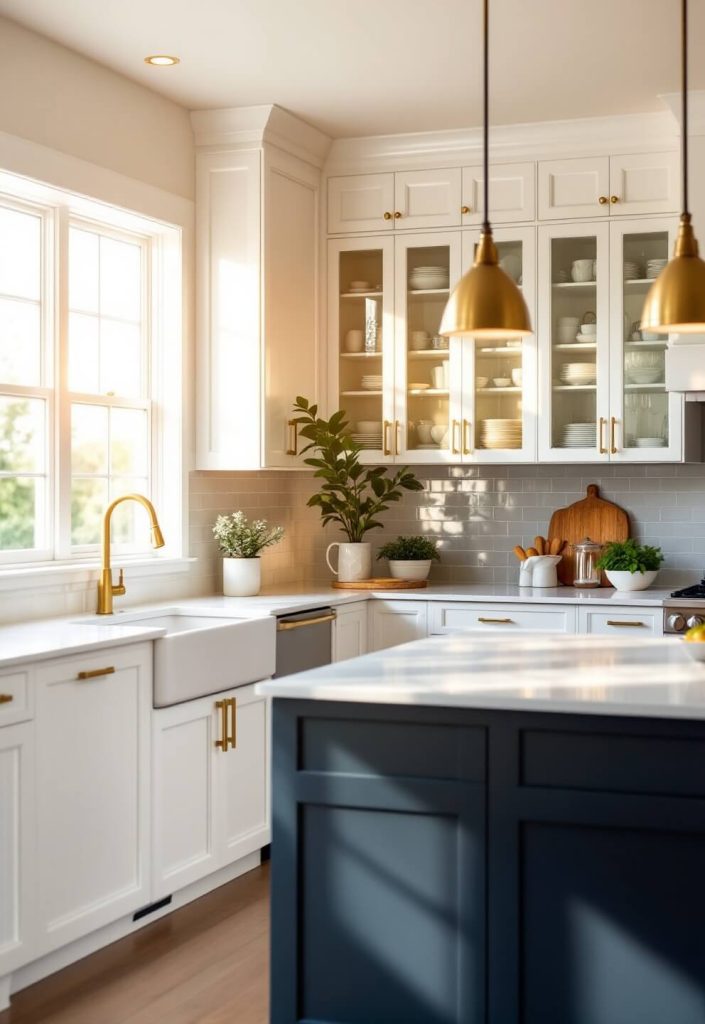
💡 Steal This Look
- Paint Color: Sherwin-Williams Accessible Beige SW 7036
- Furniture: Wood kitchen island with natural finish to complement stained cabinetry
- Lighting: Brushed bronze pendant lights above kitchen counter to warm stained wood tones
- Materials: Natural wood grain, matte or satin polyurethane finish on cabinets, warm metal hardware
Stained cabinets deliver authentic character that painted options simply can’t match—they age beautifully and actually improve in appearance over time as the wood develops patina. This is the choice for homeowners who value craftsmanship and natural materials.
Wood Stain Color Spectrum: From Light to Dark
Your cabinet stain can dramatically transform your kitchen’s mood:
Popular Stain Ranges:
- Light Tones: Honey, Wheat, Natural Oak
- Medium Tones: Golden Brown, Caramel
- Dark Tones: Espresso, Deep Walnut, Slate

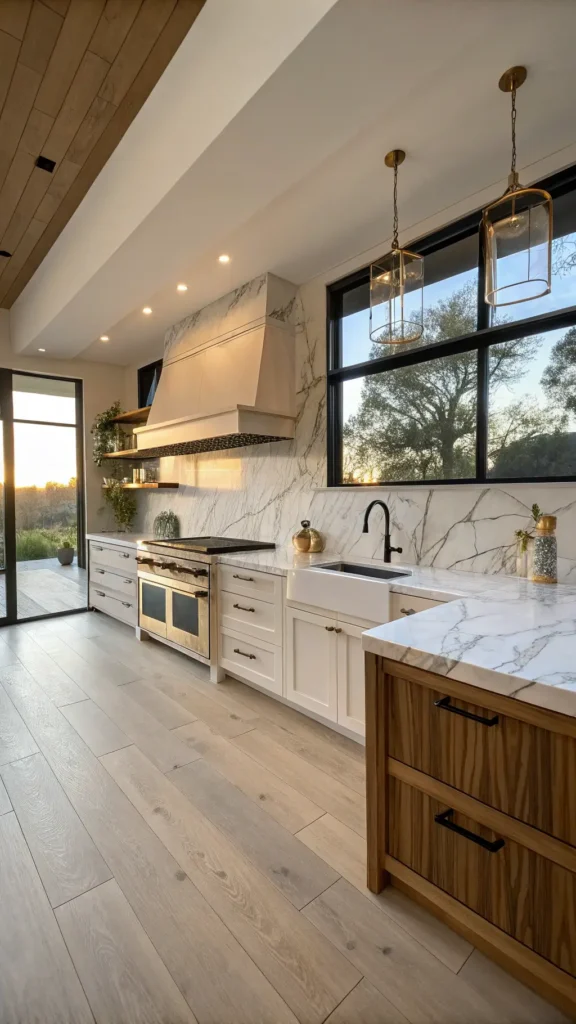
★ Steal This Look
- Paint Color: Benjamin Moore Pale Oak HC-108
- Furniture: Kitchen island with contrasting stained wood base (medium golden brown tone) paired with light countertop
- Lighting: Warm brass or bronze pendant lights with fabric shades to complement stained wood tones
- Materials: Matte or satin finish wood stain, natural wood grain visibility, complementary quartz or butcher block countertops
The beauty of the stain spectrum is that it sets your kitchen’s entire emotional temperature—honey tones whisper ‘cozy farmhouse,’ while espresso commands ‘modern luxury.’ Your stain choice isn’t just about the cabinets; it’s the foundation that every other element in your kitchen answers to.
Preparing for Cabinet Staining: A Step-by-Step Guide
Professional results require meticulous preparation.
Essential Preparation Steps:
- Remove all hardware carefully
- Detach cabinet doors and drawers
- Clean surfaces thoroughly
- Sand surfaces for optimal stain absorption
- Protect surrounding areas with drop cloths

🎨 Steal This Look
- Paint Color: Not applicable – this section focuses on cabinet preparation, not wall painting
- Furniture: Not applicable – preparation guide, not styling
- Lighting: Not applicable – preparation guide, not lighting selection
- Materials: 120-150 grit sandpaper, wood filler, tack cloths, painter’s tape, heavy-duty drop cloths
Cabinet preparation feels tedious, but it’s where professionals separate themselves from DIYers. Taking 2-3 hours to prep properly means the difference between a stain that looks thin and uneven versus one that’s rich, uniform, and lasts for years.
Professional vs. DIY Staining
DIY Challenges:
- Requires significant time investment
- Demands precise technique
- Risk of uneven application
- Potential for costly mistakes
Professional Advantages:
- Guaranteed uniform finish
- Expert color matching
- Faster completion
- Warranty on workmanship

★ Steal This Look
- Paint Color: Behr Premium Plus Ultra 650E-1 Provincial Stain – a medium-depth espresso tone suited for kitchen cabinetry that professionals consistently choose for even saturation
- Furniture: N/A – this section addresses cabinet finishing process, not room furnishings
- Lighting: N/A – focused on staining application technique, not room lighting design
- Materials: Professional-grade wood stain, 220-grit and 400-grit sandpaper, natural bristle brushes (2-3 inch), foam rollers for even application, wood conditioner for softwood absorption prevention, grain filler for oak
The gap between DIY and professional cabinet staining comes down to technique consistency and material quality. A professional’s uniform finish in 2–3 days versus your weekend project with potential touch-ups is often worth the investment for a kitchen focal point you’ll see every day.
Maintenance Tips for Stained Cabinets
Care Instructions:
- Use soft, damp cloths for cleaning
- Avoid harsh chemical cleaners
- Reapply protective topcoat every few years
- Address scratches promptly
- Keep away from direct sunlight

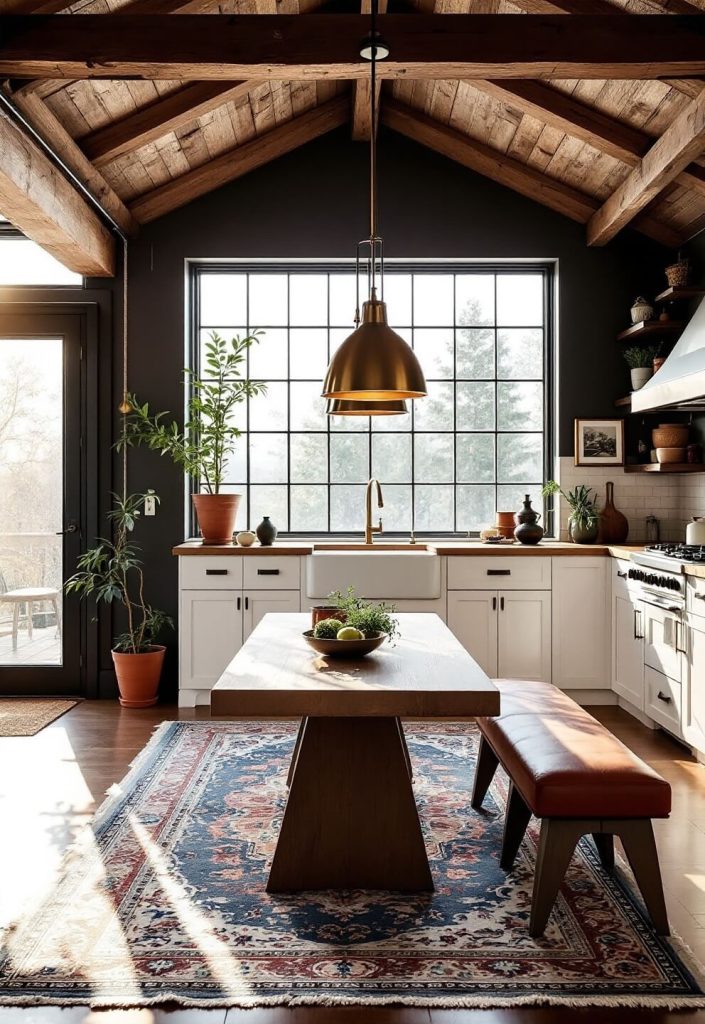
💡 Steal This Look
- Paint Color: Valspar Cabinet Enamel in Espresso 5003-10C for stained cabinet spaces
- Furniture: Kitchen islands or base cabinets in medium to dark wood stain finishes
- Lighting: Soft, diffused under-cabinet LED strips to minimize fading on stained surfaces
- Materials: Polyurethane topcoat finish, soft microfiber cloths, wood conditioner oils
Stained kitchen cabinets develop character with proper care, and a consistent maintenance routine keeps them looking intentional rather than neglected. The effort you invest in gentle cleaning and timely topcoat refresh directly extends the visual appeal and structural integrity of your investment.
Cost Considerations
Stained cabinet prices vary:
- DIY: $200-$500 in materials
- Professional refinishing: $1,500-$5,000
- New pre-stained cabinets: $3,000-$15,000

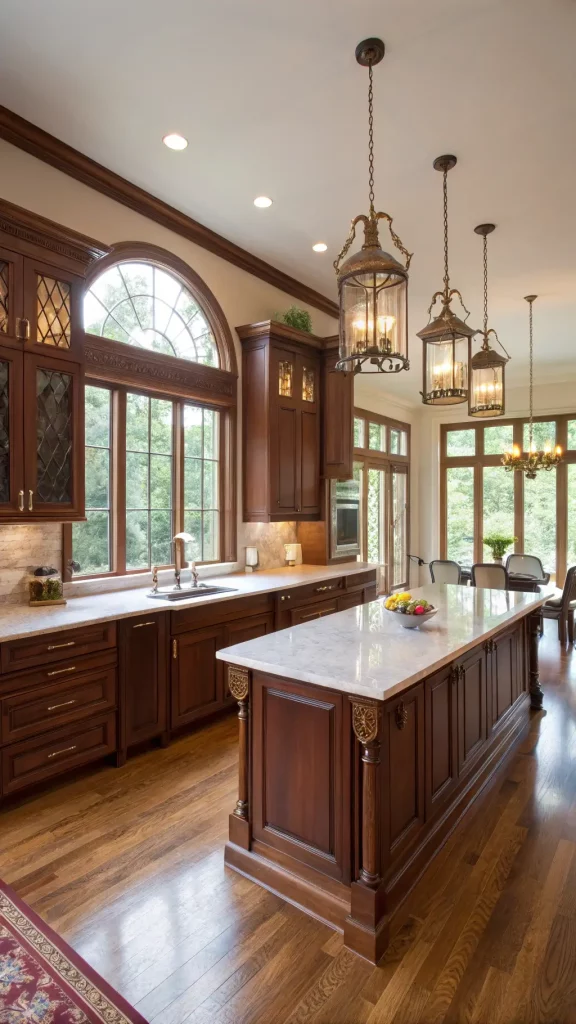
★ Steal This Look
- Paint Color: PPG Timeless Cream TC-1816 — a warm neutral that complements both light and dark stained cabinet finishes without competing
- Furniture: Simple kitchen bar stools with wood seats to echo stained cabinet tones, or upholstered stools in neutral linen for contrast
- Lighting: Recessed lighting or track lights to showcase stained cabinet grain and depth without adding cost
- Materials: Natural wood finishes, matte hardware in brushed bronze or black to coordinate with stained wood
Stained cabinets are one of the most cost-effective ways to anchor a kitchen’s personality. Whether you DIY or hire a pro, the investment pays back in both durability and timeless appeal.
Shopping Recommendations
Where to Buy:
- The Home Depot
- Lowe’s
- Local cabinet specialty stores
- Online custom cabinet retailers

💡 Steal This Look
- Paint Color: Dunn-Edwards Driftwood DE6224 — a warm neutral that complements stained wood cabinetry without competing for visual attention
- Furniture: Kitchen island with matching stained wood finish to coordinate with cabinet stain; bar stools with wood frames
- Lighting: Pendant lights with bronze or oil-rubbed bronze hardware to echo stained cabinet hardware; 3000K warm white LEDs
- Materials: Stained wood (matching cabinet finish), brushed metal hardware, granite or quartz countertops in neutral tones to complement warm wood stains
Stained cabinets are an investment, and the right supporting elements—hardware, counters, and lighting—make the difference between a cohesive kitchen and one that feels disjointed. Shopping intentionally at specialty retailers gives you expert guidance on finishes that actually coordinate.
Final Thoughts
Stained kitchen cabinets represent more than a design choice – they’re an investment in your home’s aesthetic and functionality.
Whether you’re a design enthusiast or a practical homeowner, stained cabinets offer a perfect blend of beauty and durability.
The choices that last are tied to a real routine. Pick the ones that fit how you cook and the room works harder for you.